Introduction
Discover the Secret to Perfectly Fluffy and Decadent Cinnabons at Home
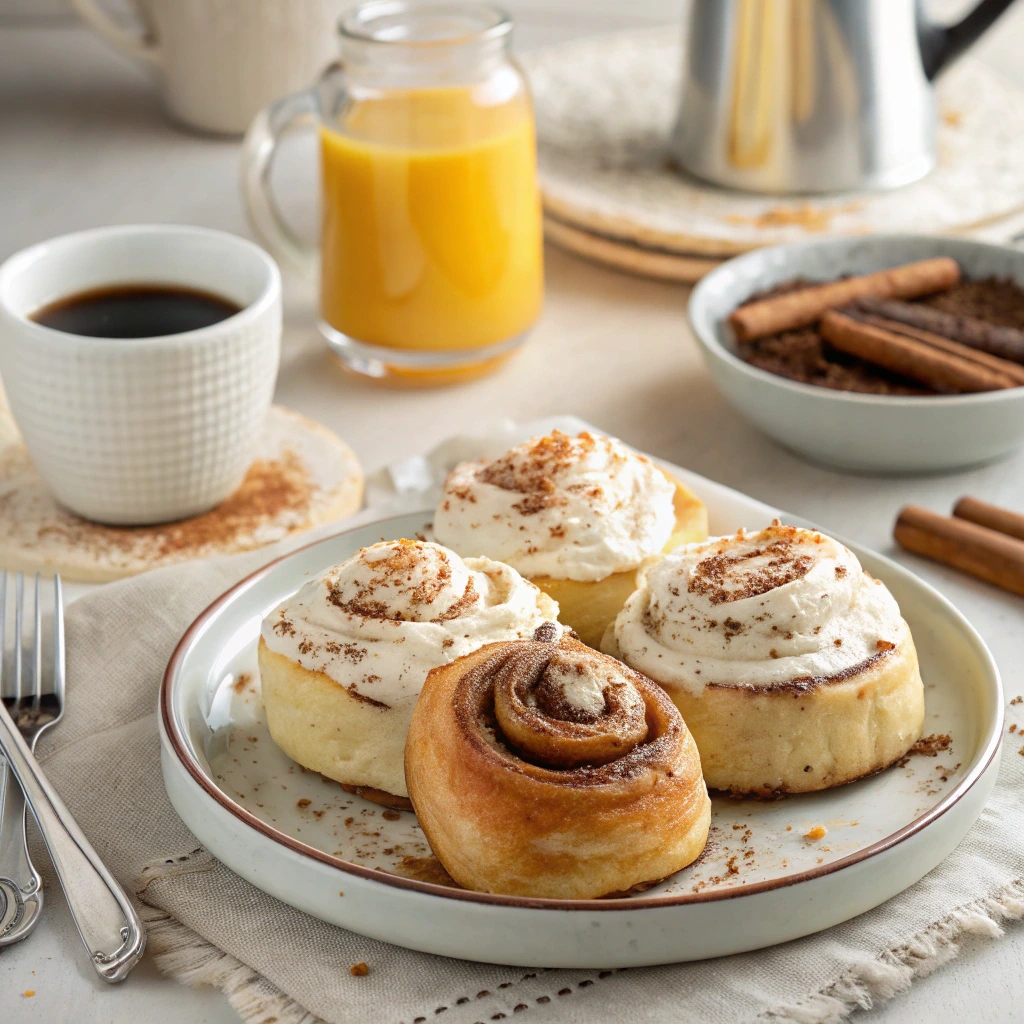
There’s something magical about walking into a bakery and catching the scent of freshly baked cinnamon rolls wafting through the air. For many, Cinnabons are more than just a pastry—they’re an indulgence that brings back memories of special moments or cozy mornings. But what if you could recreate that same irresistible experience right in your kitchen? Imagine waking up to the aroma of warm, gooey cinnamon buns filled with rich cream cheese frosting, all made by you . With this step-by-step guide, we’ll show you how to make homemade Cinnabons so good they’ll rival even the best from any bakery. Whether you’re a seasoned baker or a beginner, these tips and tricks will help you achieve perfection every time.

Understanding the Key Ingredients for Perfect Cinnabons
To truly master the art of making homemade Cinnabons, it’s essential to understand the role each ingredient plays. For instance, high-quality flour forms the foundation of soft and fluffy rolls. If you’re curious about the science behind gluten development, this article from King Arthur Baking offers an in-depth explanation that every baker should know. Similarly, yeast is the driving force behind the rising process, and choosing the right type (active dry vs. instant) can make all the difference.
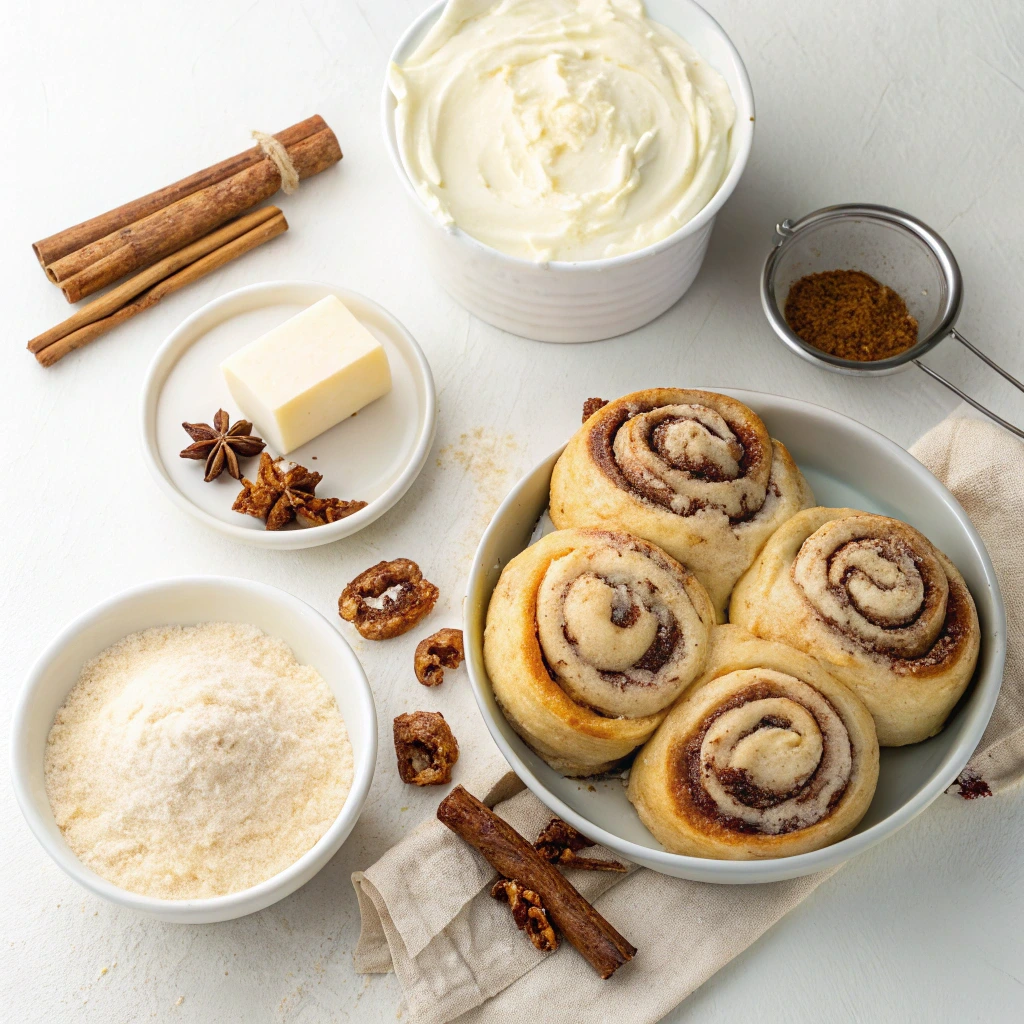
Before diving into the recipe, it’s essential to understand the role each ingredient plays in crafting those melt-in-your-mouth Cinnabons. Let’s break down the basics:
1- High-Quality Flour for Soft Dough
- All-purpose flour is ideal for achieving a soft texture, but bread flour adds extra structure.
- Measure flour correctly using the “spoon-and-level” method to avoid dense dough.
- Did you know? Using too much flour can lead to tough rolls, so start with less and add gradually.
- Flour forms the backbone of your Cinnabons, determining their texture and structure. All-purpose flour works beautifully for most recipes because it strikes a balance between gluten development and tenderness. However, if you’re looking for an even lighter roll, consider using bread flour. Bread flour contains higher protein levels, which helps create a chewier texture—a hallmark of authentic Cinnabons.
- When measuring flour, avoid packing it into the measuring cup, as this can lead to excess flour in your dough. Instead, spoon the flour lightly into the cup and level it off with a knife. This technique ensures consistent results every time.
2-The Role of Yeast in Rising Dough
Yeast is the unsung hero behind those fluffy, pillowy rolls. Active dry yeast and instant yeast are the two primary types used in baking. While both achieve similar results, their preparation differs slightly:
- Active Dry Yeast : Requires proofing in warm water before mixing. To activate, dissolve the yeast in water around 105°F–115°F (40°C–46°C). Adding a pinch of sugar speeds up the process by feeding the yeast. If the mixture doesn’t foam after 5–10 minutes, your yeast might be inactive—time to grab a fresh packet!
- Instant Yeast : Can be added directly to dry ingredients without proofing. It’s faster and easier to use, making it ideal for beginners.
Temperature control is crucial when working with yeast. Too hot, and you’ll kill the yeast; too cold, and it won’t activate properly. Aim for lukewarm liquids that feel comfortable to the touch.
- Active dry yeast and instant yeast both work well, but their activation methods differ slightly.
- Proof your yeast in warm water (around 105°F) mixed with sugar to ensure it’s alive before mixing.
- Troubleshooting tip: If the yeast doesn’t foam after 5 minutes, discard it and try again with fresh yeast.
3- Sweetness from Cinnamon Sugar Mixture
The cinnamon-sugar filling is what makes Cinnabons so irresistible. Here’s how to get it just right:
- Start with a basic ratio of 1 cup granulated sugar to 2 tablespoons ground cinnamon. Adjust according to your preference—some people enjoy a stronger cinnamon kick, while others prefer a milder sweetness.
- For added complexity, mix in other spices like nutmeg, cloves, or allspice. These complementary flavors enhance the overall taste profile without overpowering the cinnamon.
- A teaspoon of vanilla extract introduces a subtle warmth and depth, elevating the filling to new heights.
Pro Tip: Mix the cinnamon-sugar blend thoroughly before applying it to the dough. This ensures even distribution and prevents clumping.
- A classic ratio of 1 cup granulated sugar to 2 tablespoons ground cinnamon creates the perfect balance.
- Experiment with optional spices like nutmeg or cloves for added depth.
- Add a teaspoon of vanilla extract to enhance the sweetness naturally.
4- Cream Cheese Frosting – The Signature Touch
- Rich cream cheese frosting ties everything together, adding tangy contrast to the sweet roll.
- Essential ingredients include softened cream cheese, butter, powdered sugar, and vanilla extract.
Pro Tip: Mix the cinnamon-sugar blend thoroughly before applying it to the dough. This ensures even distribution and prevents clumping.

Step-by-Step Guide to Making Cinnabon Dough
Now that you understand the importance of key ingredients, let’s dive into the hands-on process of creating your dough.
Mixing the Dough
Here’s a step-by-step guide to mixing your dough perfectly:
- Activate the Yeast : In a small bowl, combine warm milk (around 105°F), sugar, and yeast. Let it sit for 5–10 minutes until frothy. This proves that your yeast is alive and ready to work its magic.
- Combine Wet Ingredients : In a large mixing bowl, whisk together eggs, melted butter, and the activated yeast mixture. This creates the base for your dough.
- Add Dry Ingredients Gradually : Begin incorporating flour one cup at a time, alternating with salt. Stir until the dough starts coming together. Be careful not to add too much flour, as this can make the dough dense.
Kneading Techniques for Fluffy Results
Kneading develops gluten strands, giving your rolls their signature elasticity. Here’s how to do it right:
- Hand-Kneading : Place the dough on a lightly floured surface and press down firmly with the heels of your hands. Fold the dough over itself, rotate it 90 degrees, and repeat. Continue this motion for 8–10 minutes or until the dough becomes smooth and elastic.
- Machine-Kneading : Use a stand mixer fitted with a dough hook attachment. Knead on low speed for 5–7 minutes, stopping occasionally to scrape down the sides of the bowl.
Signs of properly kneaded dough include a satiny texture and the ability to stretch without tearing. Perform the “windowpane test” by holding a small piece of dough up to the light—it should be translucent and flexible.
Allowing the Dough to Rise (Tips and Tricks)
Rising is where patience pays off. Follow these tips for optimal results:
- Ideal Environment : Place the dough in a warm, draft-free area. A kitchen counter near a sunny window or inside an oven with the light turned on works well. Avoid areas with direct heat sources, as they can dry out the dough.
- Timing Considerations : The first rise typically takes 1–2 hours, depending on temperature and humidity levels. Once the dough has doubled in size, gently press it down to release trapped air bubbles.
Fun Fact: Professional bakers often use a “proofing box,” a controlled environment designed to maintain consistent warmth and humidity for perfect rising conditions.
Shaping the Dough into Rolls (In-Depth Instructions)
Shaping your rolls requires precision and care. Follow these steps:
- Roll out the dough into a rectangle roughly 12×16 inches thick. Use a rolling pin to ensure even thickness throughout.
- Spread softened butter evenly across the surface, leaving a ½-inch border along one long edge. This prevents spills during baking.
- Sprinkle the cinnamon-sugar mixture generously over the buttered area, pressing lightly to adhere.
- Roll up the dough tightly from the longer side, forming a log. Pinch the seam closed to seal.
- Using unflavored dental floss or a sharp knife, slice the log into 1-inch sections. Each slice will become one Cinnamon Bun.
Baking Your Homemade Cinnabons to Perfection
Baking is the final stage before enjoying your delicious creations. Here’s how to bake them flawlessly:
Preparing the Baking Pan (Additional Tips)
Choosing the right pan and preparing it correctly ensures easy removal and even baking.
- Grease the pan generously with nonstick spray or softened butter. Alternatively, line it with parchment paper for effortless cleanup.
- Arrange the rolls snugly but not overcrowded. Leave about ½ inch of space between each roll to allow for expansion.
Second Rise Before Baking (Why It Matters)
Allowing the rolls to rise a second time before baking enhances their texture and flavor. Cover the pan with a clean kitchen towel and let it sit for 30–45 minutes. During this time, the rolls will puff up and develop a soft crumb structure.
Baking Time and Temperature (Precision Matters)
Set your oven to 350°F (175°C) and preheat it fully before placing the rolls inside. Bake for 18–22 minutes, rotating the pan halfway through for even browning.
How do you know they’re done? Insert a toothpick into the center of a roll—if it comes out clean or with minimal crumbs, they’re ready! Overbaking can dry out the rolls, so keep an eye on them toward the end of the baking time.
Cooling Down After Baking (Avoid Common Pitfalls)
Cooling is just as important as baking. Transfer the rolls to a wire rack immediately after removing them from the oven. This prevents moisture buildup, which can cause soggy bottoms. Let them cool slightly before frosting—they should still be warm enough for the glaze to melt slightly upon contact.

Adding the Irresistible Cream Cheese Frosting
Cream cheese frosting is what sets Cinnabons apart from ordinary cinnamon rolls. Here’s how to prepare and apply it like a pro:
Preparing the Frosting Mixture (Step-by-Step Recipe)
Follow this foolproof recipe for rich, creamy frosting:
- Beat softened cream cheese and butter in a mixing bowl until smooth and creamy.
- Gradually whisk in powdered sugar, starting with 1 cup and adding more as needed.
- Stir in vanilla extract and adjust consistency with milk—one tablespoon at a time—for drizzling or spreading.
Applying the Frosting Evenly
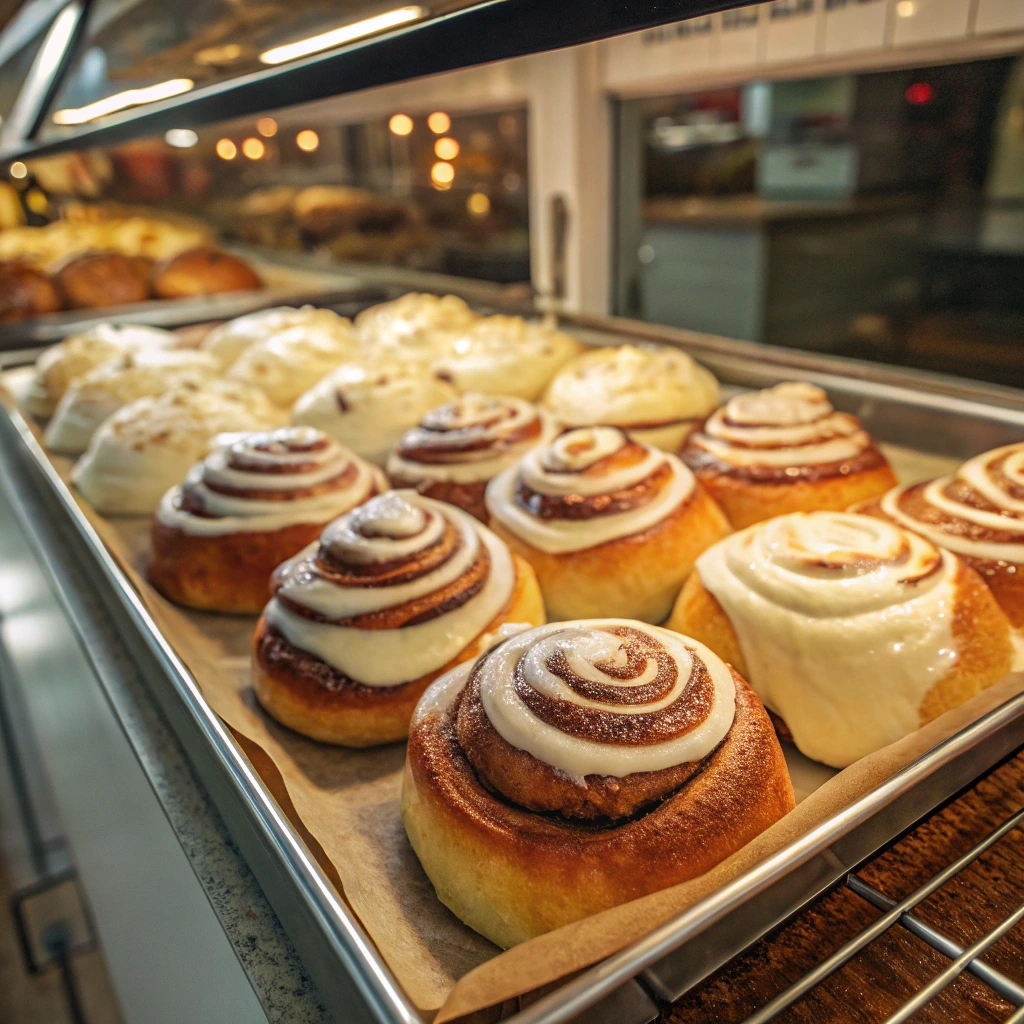
Drizzle the frosting over warm rolls for a glossy finish, allowing it to drip down the sides naturally. Alternatively, spread it gently with a spatula for a more uniform look.
Pro Tip: For thicker frosting, chill it briefly in the refrigerator before applying. This makes it easier to handle and less likely to slide off the rolls.
Customizing Your Frosting Flavor
Don’t be afraid to experiment with unique variations:
- Add grated orange zest for a refreshing citrus twist.
- Incorporate melted chocolate chips for a decadent treat.
- Swap vanilla extract for almond extract for a nutty aroma.
Storing Frosted Cinnabons
To store leftover Cinnabons, place them in an airtight container at room temperature for up to 2 days. For longer storage, freeze unfrosted rolls individually wrapped in plastic wrap and aluminum foil. Thaw overnight in the refrigerator before frosting and serving.
Tips and Tricks for Making Restaurant-Quality Cinnabons
Achieving bakery-quality results at home involves mastering a few advanced techniques.
Common Mistakes to Avoid
Even experienced bakers encounter hiccups sometimes. Learn from these common pitfalls:
- Overworking the Dough : Handle the dough gently to preserve its airy texture. Excessive kneading can lead to tough rolls.
- Under-Proofing : Give the dough enough time to rise fully. Rushing this step results in dense, flat pastries.
Enhancing Flavor Profiles
Take your Cinnabons to the next level with these enhancements:
- Substitute part of the granulated sugar with brown sugar for deeper caramel notes.
- Fold chopped nuts or dried fruits into the filling for added crunch and variety.
Healthier Alternatives Without Sacrificing Taste
Healthy eating doesn’t mean compromising flavor. Try these substitutions:
- Reduce sugar gradually, testing each batch to find the sweet spot.
- Replace some all-purpose flour with whole wheat or almond flour for added nutrition.
Serving Suggestions and Pairings
Make your Cinnabons the star of any meal or gathering:
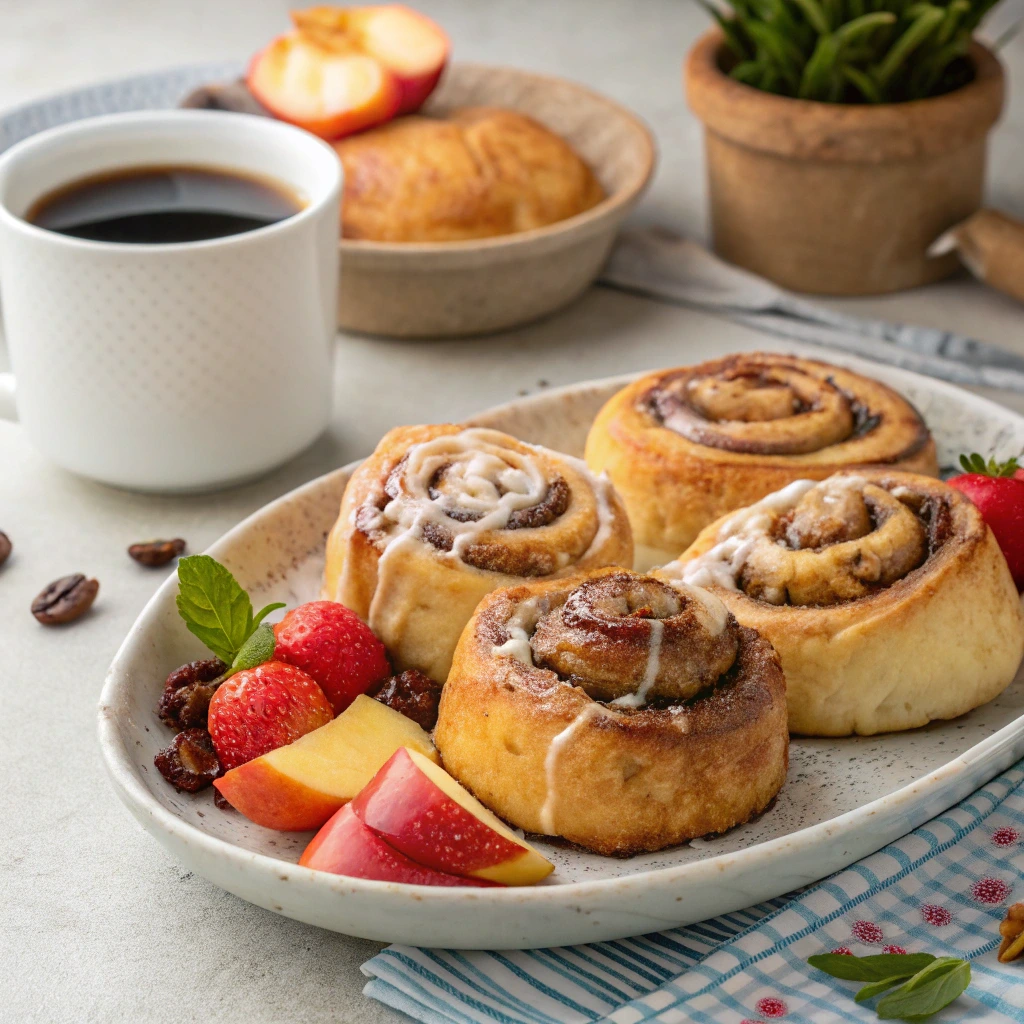
- Serve them warm alongside steaming cups of coffee or tea for a cozy breakfast.
- Create a brunch spread featuring Cinnabons alongside fruit salad, yogurt parfaits, and savory quiches.
Conclusion
With this comprehensive guide, you now possess the knowledge and skills to craft homemade Cinnabons that rival any bakery’s offerings. From selecting high-quality ingredients to perfecting the art of frosting, every step contributes to the final masterpiece. So why wait? Gather your tools, invite friends and family, and embark on this delightful culinary adventure.
We’d love to see your creations! Share photos of your baked goods on social media and tag us—we’re always eager to celebrate your successes. Happy baking, and remember: practice makes perfect.

FAQ Section
Q1: Can I make Cinnabons ahead of time?
Absolutely! Prepare the dough the night before and let it rise in the refrigerator overnight. In the morning, shape the rolls, allow them to rise again, and bake as usual.
Q2: Is it possible to make vegan Cinnabons?
Yes! Replace dairy products with plant-based alternatives such as almond milk, vegan butter, and cream cheese substitutes. Use egg replacers like flaxseed gel for binding.
Q3: Why are my Cinnabons dense instead of fluffy?
Dense Cinnabons usually result from under-proofed dough, over-kneading, or improper rising conditions. Ensure your yeast is active, give the dough sufficient time to rise, and handle it gently during shaping.
By addressing these frequently asked questions, we hope to empower you with confidence and clarity as you explore the world of homemade Cinnabons. Enjoy the journey!
