Introduction

Making Whole Wheat Bread: Why Start with This Healthy and Rewarding Hobby?
Have you ever walked into a bakery and been mesmerized by the warm aroma of freshly baked bread? There’s something magical about that scent—it evokes comfort, nostalgia, and a sense of home. But what if I told you that creating this same magic in your own kitchen is not only possible but also surprisingly easy? Welcome to the world of making whole wheat bread , where every loaf tells a story of effort, care, and love.
In today’s fast-paced world, opting for store-bought bread might seem convenient, but it often comes at the cost of nutrition and flavor. Store-bought loaves are frequently loaded with preservatives and lack the wholesome goodness of homemade alternatives. By learning how to make delicious whole wheat bread yourself, you’re taking control of your health while enjoying the satisfaction of crafting something truly special. Whether you’re a complete beginner or someone looking to refine their skills, this guide will walk you through every step of the process. Let’s dive in!
Understanding the Basics of Whole Wheat Bread Making
Before we get our hands floury, let’s break down the fundamentals of making whole wheat bread so you can approach the process confidently.
What Makes Whole Wheat Bread Different?
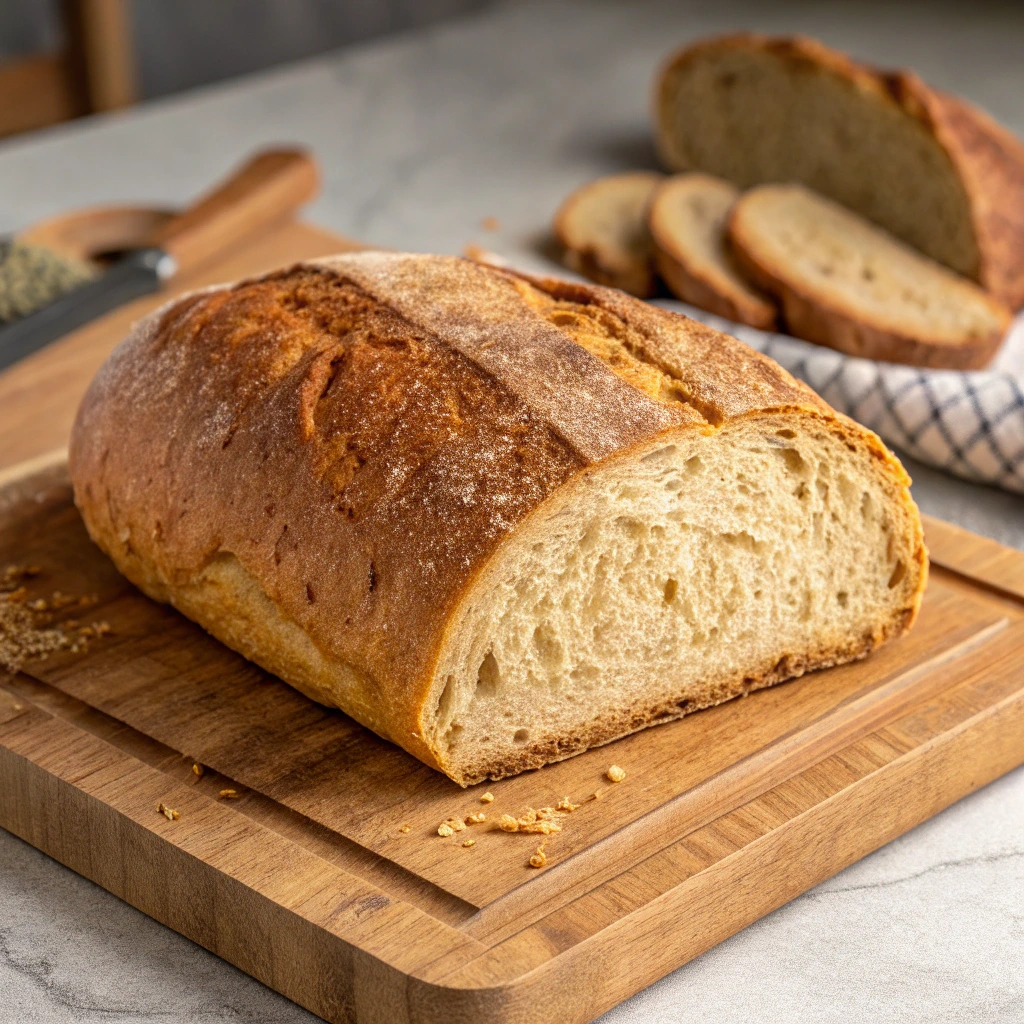
Whole wheat bread stands apart from its refined counterparts because it uses the entire grain kernel—bran, germ, and endosperm. This gives it a richer nutritional profile packed with fiber, vitamins, and minerals. Unlike white bread, which strips away much of the grain’s goodness, whole wheat bread offers lasting energy and better digestion.
- Bran: Rich in fiber and antioxidants.
- Germ: Packed with healthy fats and B-vitamins.
- Endosperm: Provides carbohydrates and protein.
Key Ingredients You’ll Need
Here’s a quick rundown of the essential ingredients for making whole wheat bread:
| Ingredient | Purpose | Tips |
|---|---|---|
| Whole Wheat Flour | Forms the structure of the bread | Use high-quality flour for better results. |
| Active Dry Yeast | Helps the dough rise | Ensure yeast isn’t expired; check expiration date before use. |
| Water | Hydrates the flour and activates yeast | Lukewarm water (around 110°F/43°C) works best for activating yeast. |
| Salt | Enhances flavor and regulates yeast activity | Use fine sea salt or kosher salt for even distribution. |
| Sugar/Honey | Feeds the yeast | Optional, but helpful for sweeter loaves. |
| Oil/Vegetable Shortening | Adds moisture and tenderness | Olive oil or melted butter can be used for added flavor. |
Tools and Equipment Required
You don’t need fancy gadgets to start baking, but having the right tools makes the process smoother:
- Mixing Bowls: For combining ingredients.
- Measuring Cups/Spoons: Precision matters when measuring dry and wet ingredients.
- Loaf Pan: Standard size (9×5 inches) is ideal for most recipes.
- Kitchen Towel/Oven Mitts: To cover dough during proofing and handle hot pans.
- Stand Mixer (Optional): Saves time and effort when kneading large batches.

Step-by-Step Instructions to Make Whole Wheat Bread
Now that you understand the basics, let’s roll up our sleeves and bake some bread! Follow these steps carefully to achieve perfect results every time.
Preparing Your Ingredients
Start by gathering all your ingredients and equipment. Measure everything accurately using digital scales or measuring cups for consistency.
Tips for Activating Yeast:
- Dissolve sugar or honey in warm water (not too hot).
- Sprinkle yeast over the mixture and let it sit for 5–10 minutes until frothy.
- If no foam appears, your yeast may have expired—time to replace it!
Mixing the Dough
Combine the dry ingredients (flour, salt, and optional sweeteners) in a large mixing bowl. Gradually add the wet ingredients (yeast mixture, oil, and water) while stirring gently.
- Mix until the dough forms a cohesive ball.
- Adjust hydration levels as needed—if the dough feels sticky, add more flour; if it’s too dry, sprinkle in a little water.
Kneading the Dough
Kneading develops gluten, giving your bread structure and elasticity.
- Turn the dough out onto a lightly floured surface.
- Push the dough forward with the heel of your hand, fold it back, and repeat.
- Continue kneading for 8–10 minutes by hand or 5–7 minutes with a stand mixer.
Signs of Properly Kneaded Dough:
- Smooth and elastic texture.
- Passes the “windowpane test” (stretch a small piece without tearing).
First Rise (Proofing)
Place the kneaded dough in a greased bowl, cover it with a damp cloth, and let it rise in a warm, draft-free area.
- Allow the dough to double in size, usually 1–2 hours depending on temperature.
- Gently press the dough with your finger—if the indentation remains, it’s ready.
Shaping and Baking Your Bread
Once the dough has risen, it’s time to shape and bake your masterpiece.
Shaping the Dough
Punch down the risen dough to release trapped air. Divide it into portions if making multiple loaves. Shape each portion into a rectangle, roll it tightly, and tuck the ends under to form a neat loaf.
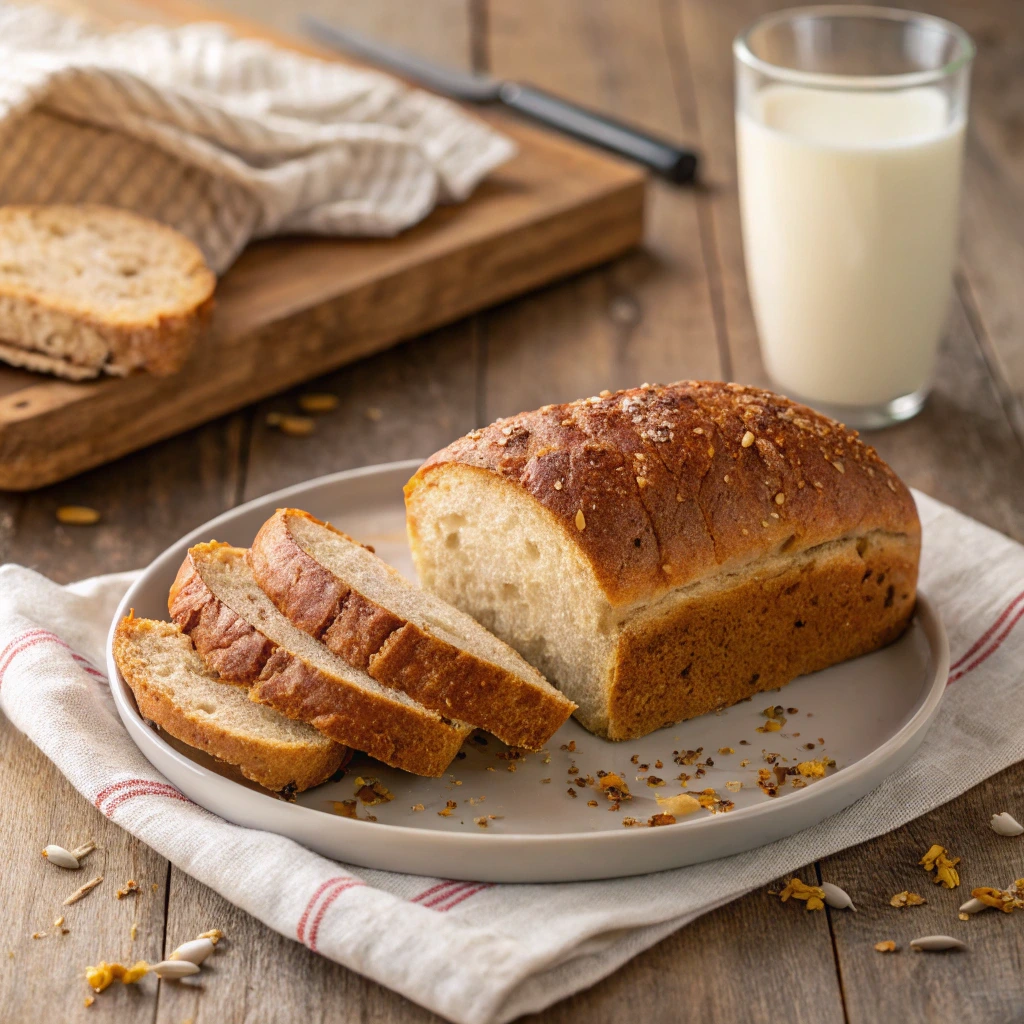
- Add optional toppings like sesame seeds, poppy seeds, or crushed nuts for extra crunch.
Second Rise Before Baking
Let the shaped dough rest again in the prepared loaf pan. Cover it loosely and allow it to rise for another 30–60 minutes.
- The dough should reach just above the rim of the pan.
Baking the Bread
Preheat your oven to 375°F (190°C). Score the top of the loaf with a sharp knife for an attractive finish. Bake for 25–35 minutes, rotating halfway through for even browning.
Tips for Achieving a Golden Crust:
- Spray water inside the oven for steam during the first few minutes of baking.
- Tap the bottom of the loaf—it should sound hollow when done.
Cooling and Storing
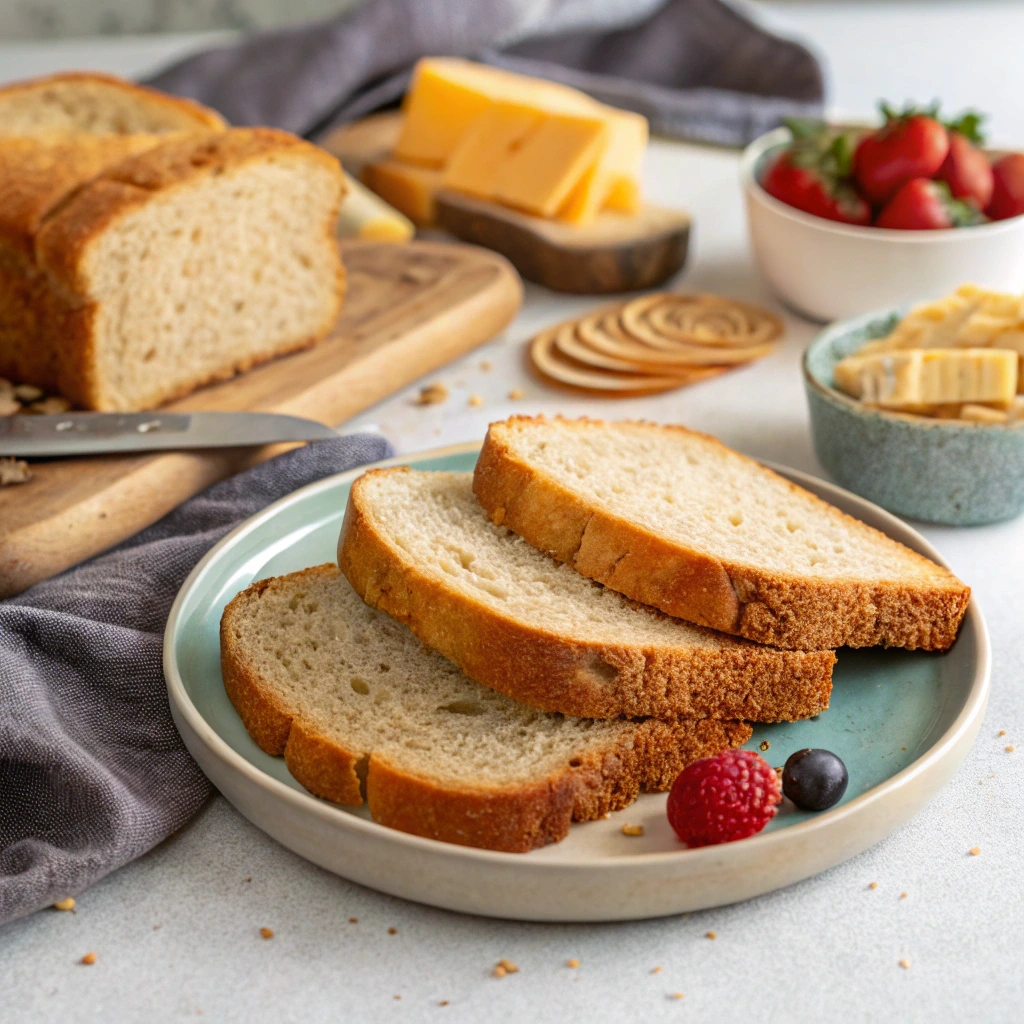
Remove the bread from the pan and place it on a wire rack to cool completely. Avoid slicing warm bread, as it may collapse.
- Store cooled bread in an airtight container or freezer bag for up to 3 days. Freeze slices for longer shelf life.

Troubleshooting Common Issues
Even experienced bakers encounter challenges occasionally. Here’s how to troubleshoot common problems:
Why Is My Bread Dense?
Dense bread often results from insufficient rising time, improper kneading, or incorrect yeast usage.
- Solution: Double-check measurements, ensure proper activation of yeast, and give the dough enough time to rise.
Crust Too Hard or Too Soft
Hard crusts indicate excessive heat or long baking times, while soft crusts result from insufficient evaporation.
- Solution: Adjust oven temperature and ventilation accordingly.
Overproofed or Underproofed Dough
Overproofed dough collapses during baking, while underproofed dough lacks volume.
- Solution: Monitor rising stages closely and adjust timing based on environmental conditions.
Tips for Perfect Results Every Time
Consistency comes with practice, but here are a few golden rules:
- Always measure ingredients precisely.
- Maintain optimal temperatures for yeast activity.
- Be patient—don’t rush the rising process.
Enhancing Your Whole Wheat Bread Recipes
Once you’ve mastered the basics of making whole wheat bread, it’s time to get creative and take your loaves to the next level. Whether you want to experiment with new flavors or try alternative flours, there are endless possibilities to explore. For inspiration, check out this comprehensive guide on artisan bread techniques that can help elevate your baking skills even further.
Adding Flavor Variations
Infuse your bread with unique flavors by incorporating herbs (rosemary, thyme), spices (cinnamon, nutmeg), or sweeteners (maple syrup, molasses).
Incorporating Seeds and Nuts
Add crunch and nutrition with flaxseeds, chia seeds, sunflower seeds, walnuts, or almonds.
Experimenting with Different Flours
Try spelt flour, rye flour, or oat flour for distinct textures and tastes.
Healthier Add-ins for Extra Nutrition
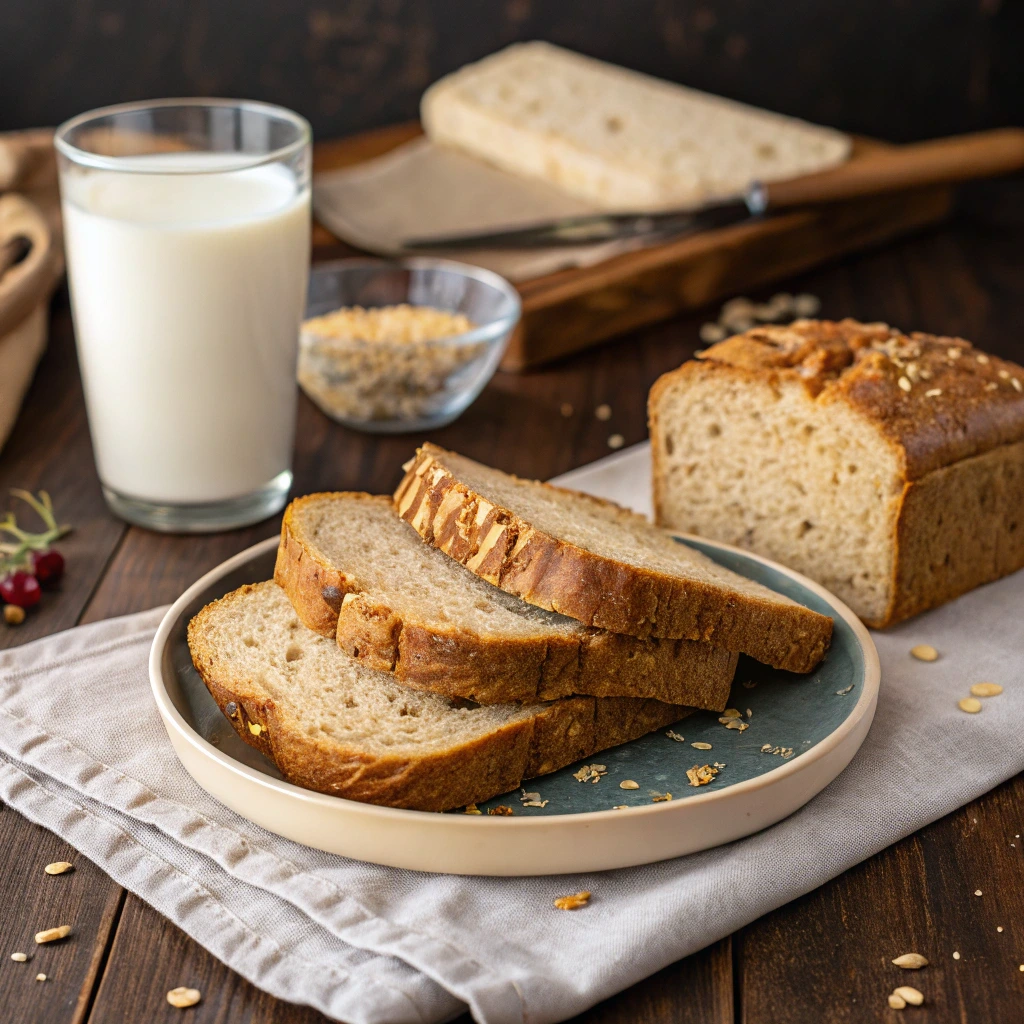
Boost your bread’s nutritional value with rolled oats, ground flaxseed meal, or honey instead of refined sugar.
Conclusion
Congratulations—you’ve now learned the art of making whole wheat bread ! With this comprehensive guide, you’re equipped to create delicious, nutritious loaves that rival anything found in stores. Remember, baking is both science and art, so don’t hesitate to experiment and personalize your recipes.
Feel free to share your experiences, ask questions, or request further tips in the comments below. Happy baking—and enjoy the fruits of your labor!

FAQ Section
Q1: How do I know if my yeast is active for making whole wheat bread?
A: Dissolve yeast in warm water with a pinch of sugar. Wait 5–10 minutes; if it becomes frothy, it’s active.
Q2: Can I substitute whole wheat flour with all-purpose flour when making whole wheat bread?
A: Partial substitution is fine, but replacing all whole wheat flour may affect texture and nutrition.
Q3: Why does my whole wheat bread turn out dense after baking?
A: Check rising times, kneading technique, and yeast quality. Dense bread often stems from inadequate proofing or poor gluten development.
Q4: Is freezing whole wheat bread safe?
A: Absolutely! Wrap slices tightly in plastic wrap or store them in a freezer-safe container. Thaw overnight at room temperature.
