Introduction

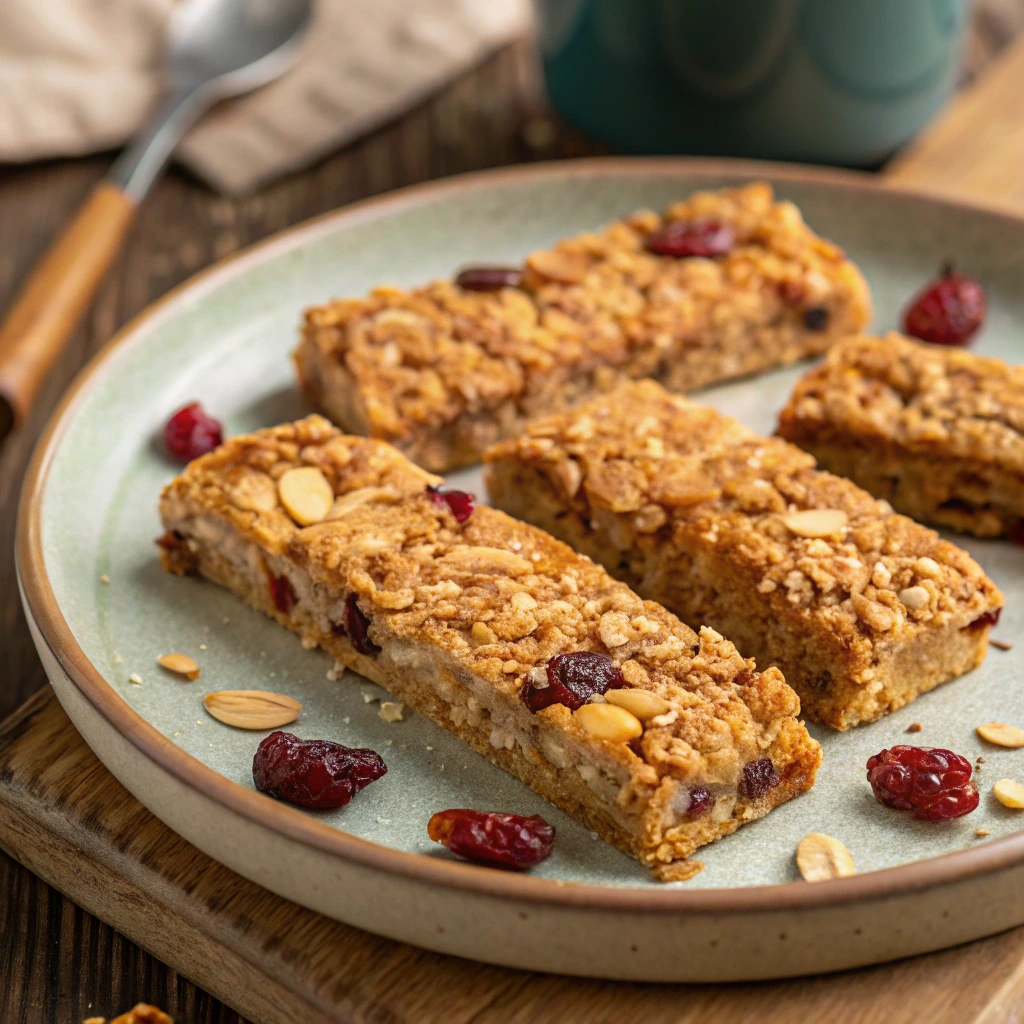
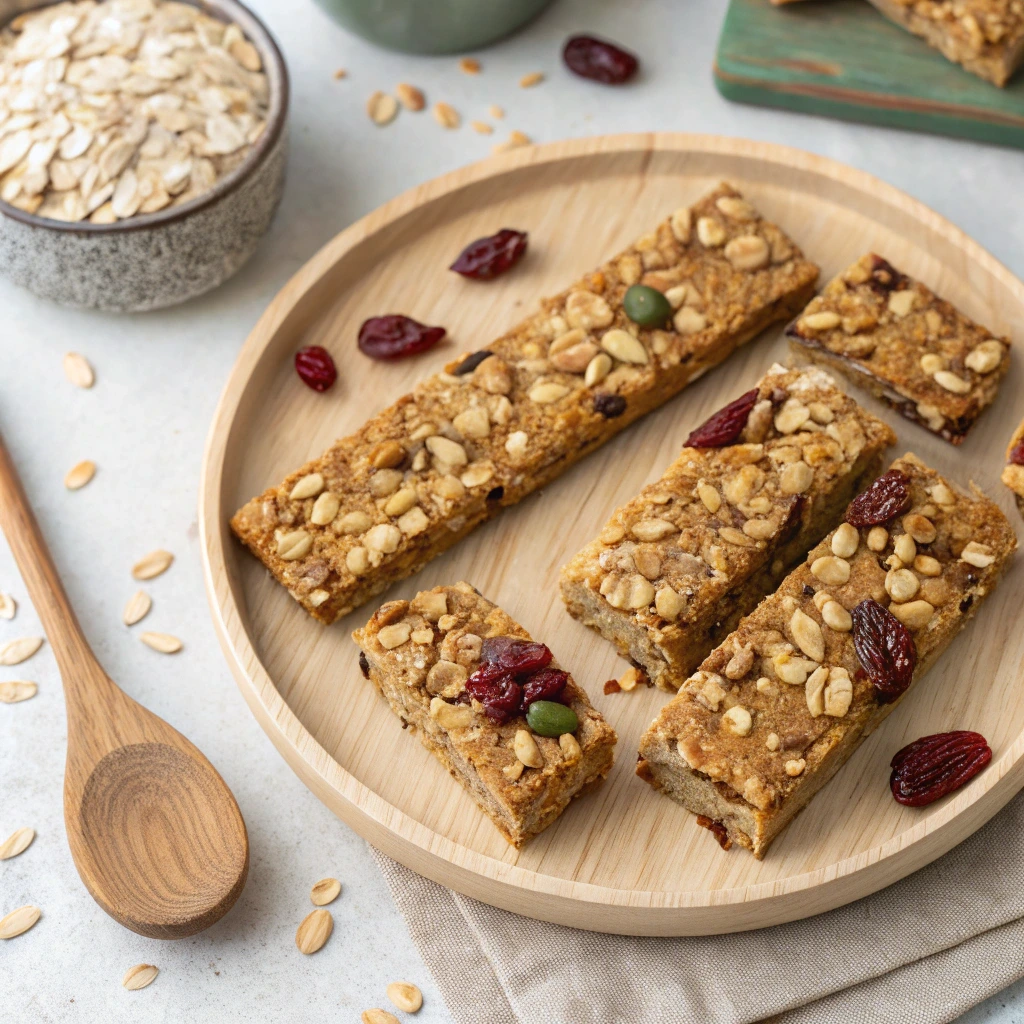
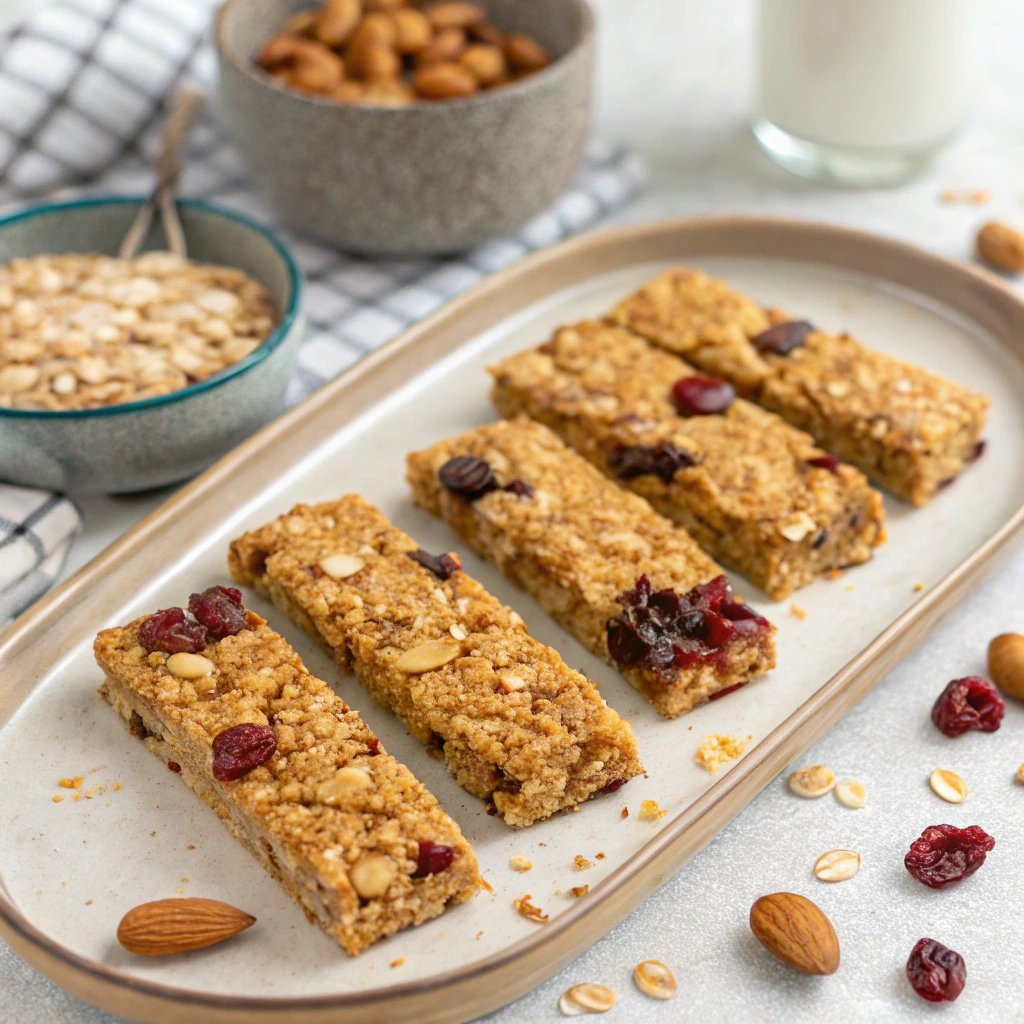
There’s something truly satisfying about creating your own snacks from scratch, especially when it comes to homemade granola bars. Whether you’re looking for a quick breakfast option, an energy boost during the day, or a healthy treat after dinner, these customizable delights are perfect for every occasion. Imagine biting into a chewy, crunchy bar packed with wholesome ingredients that not only satisfy your cravings but also nourish your body—this is exactly what homemade granola bars offer.
But why settle for store-bought versions filled with preservatives and unnecessary sugars? By making them yourself, you gain control over the quality of ingredients, flavors, and even nutritional value. Plus, they’re surprisingly easy to make! In this ultimate guide, we’ll walk you through everything you need to know to create delicious homemade granola bars tailored just for you.
Why Choose Homemade Granola Bars Over Store-Bought Ones?
Have you ever taken a closer look at the ingredient list on those fancy granola bars in the supermarket? Chances are, you might be surprised by how many additives and artificial sweeteners are hiding inside. That’s where homemade granola bars shine—they give you full control over what goes into your snacks. Here’s why they’re worth the effort:
Healthier Ingredients
- Replace refined sugar with natural alternatives like honey, maple syrup, or coconut nectar.
- Avoid synthetic preservatives and artificial flavors commonly found in commercial bars.
- Use organic, non-GMO ingredients to ensure maximum health benefits.
Did you know? A study published in the Journal of Nutrition found that consuming whole grains (like oats) can reduce the risk of heart disease by up to 30%.
Customizable Flavors
- Tailor your granola bars to match your taste buds—add chocolate chips, dried cranberries, or shredded coconut.
- Experiment with unique combinations such as peanut butter & banana, almond & chia seed, or cinnamon & apple.
- Create seasonal variations using fresh fruits or spices like pumpkin pie spice in fall.
Cost-Effective Solution
- Making granola bars at home costs significantly less than buying pre-packaged ones.
- Purchase ingredients in bulk to save money while ensuring freshness.
- Reuse tools and equipment instead of constantly buying new packaging.
Environmentally Friendly Option
- Reduce plastic waste by avoiding individually wrapped store-bought bars.
- Opt for reusable containers or beeswax wraps to store your homemade creations.
- Support sustainable practices by choosing eco-friendly brands for your ingredients.
Essential Ingredients for Making Homemade Granola Bars
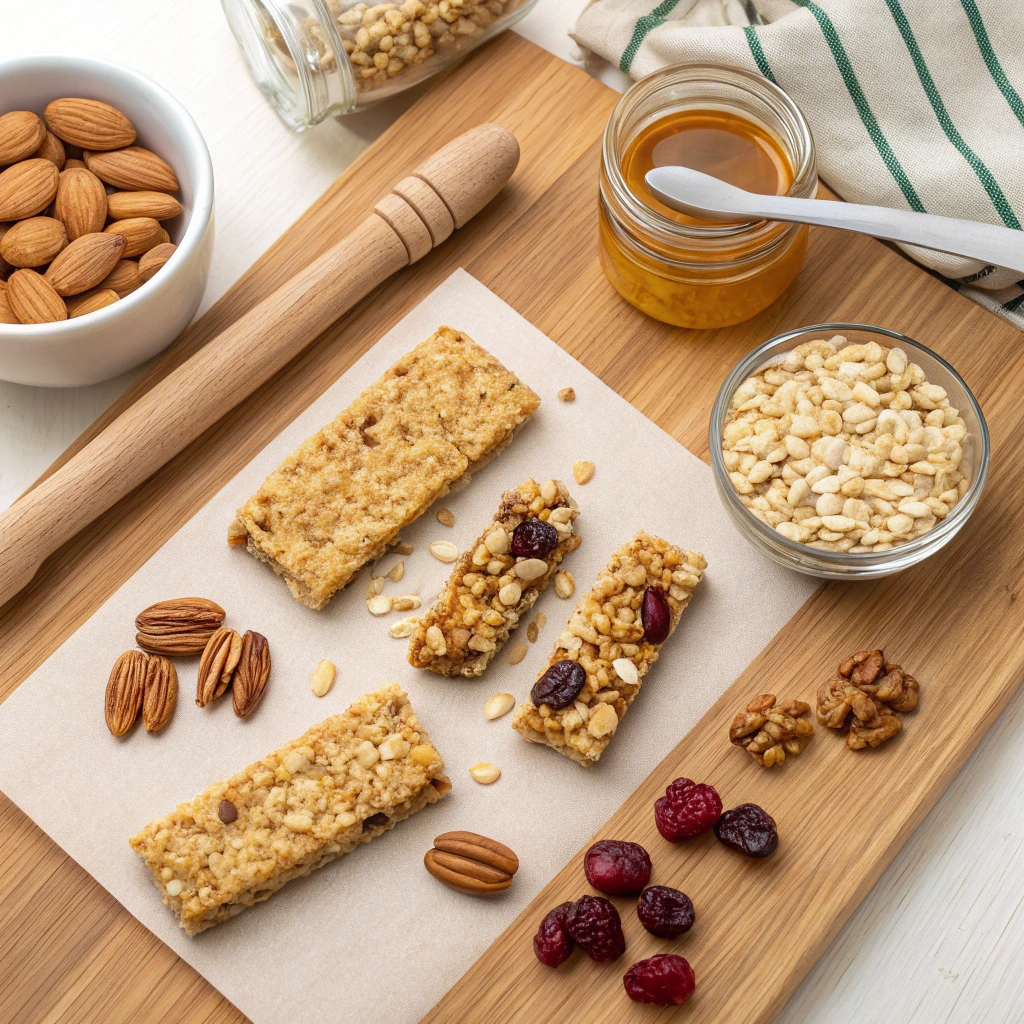
When it comes to creating delicious homemade granola bars, having the right ingredients is crucial. From the base ingredient—oats—to binders, sweeteners, and add-ins, each component plays a vital role in achieving the perfect texture and flavor. If you’re new to baking or want to learn more about the nutritional benefits of certain ingredients, consider checking out this comprehensive guide on superfoods for baking (opens in a new tab). Below, we’ll break down the essential elements you need to get started:
Base Ingredient – Oats
- Rolled oats or quick-cooking oats form the backbone of any granola bar.
- They provide fiber, protein, and a neutral flavor that pairs well with other ingredients.
- Tip: If you have gluten sensitivities, opt for certified gluten-free oats.
| Ingredient | Quantity | Purpose |
|---|---|---|
| Rolled Oats | 2 cups | Provides structure and texture |
| Quick-Cooking Oats | 1 cup | Adds extra crunch |
Binders and Sweeteners
- Common binders include honey, maple syrup, peanut butter, or agave nectar.
- For low-sugar options, try stevia, monk fruit, or date paste.
- Vegan alternatives like flax eggs or coconut oil work wonders too!
Add-ins for Texture and Flavor
- Nuts: Almonds, walnuts, pecans
- Seeds: Chia seeds, flaxseeds, sunflower seeds
- Dried Fruits: Raisins, apricots, cherries
- Chocolate Chips: Dark chocolate for added indulgence
Optional Enhancements
- Spices: Cinnamon, nutmeg, ginger
- Extracts: Vanilla, almond, peppermint
- Superfoods: Matcha powder, maca root, spirulina
Step-by-Step Guide to Making Homemade Granola Bars
Now that you’ve gathered your ingredients, here’s how to bring everything together:
Prepare Your Workspace
- Gather essential tools: mixing bowls, measuring cups, baking tray, parchment paper.
- Preheat your oven to 350°F (175°C) if the recipe requires baking.
- Line your pan with parchment paper to prevent sticking.
Mix Dry and Wet Ingredients
- Combine dry ingredients (oats, nuts, seeds) in a large bowl.
- In a separate bowl, whisk wet ingredients (honey, peanut butter, vanilla extract).
- Pour the wet mixture into the dry ingredients and stir until fully combined.
Press Mixture into a Pan
- Transfer the mixture to your prepared baking pan.
- Use a spatula or the back of a spoon to press it firmly into an even layer.
- Tip: Wearing gloves helps distribute pressure evenly without getting sticky hands.
Cool and Cut into Bars
- Allow the mixture to cool completely before slicing.
- Cut into desired shapes and sizes using a sharp knife.
- Store leftovers in an airtight container or freeze for extended shelf life.

Popular Variations of Homemade Granola Bars
Not all granola bars are created equal! Here are some exciting variations to keep things interesting:
Gluten-Free Granola Bars
- Substitute regular oats with certified gluten-free oats.
- Use brown rice syrup or molasses as binders if needed.
- Example Recipe:
- 2 cups gluten-free rolled oats
- 1/4 cup almond butter
- 1/4 cup honey
- 1/2 cup chopped almonds
Vegan Granola Bars
- Replace honey with maple syrup or agave nectar.
- Use flax eggs (1 tbsp ground flax + 3 tbsp water) as a binder.
- Incorporate plant-based fats like coconut oil or avocado.
Low-Sugar Options
- Swap traditional sweeteners with stevia, monk fruit, or erythritol.
- Add naturally sweet ingredients like bananas or applesauce.
- Sample Recipe:
- 2 cups oats
- 1/4 cup unsweetened applesauce
- 1/4 cup chia seeds
- Pinch of cinnamon
Kids-Friendly Recipes
- Shape bars into fun designs using cookie cutters.
- Include colorful add-ins like sprinkles, mini marshmallows, or crushed cereal.
- Keep textures soft and easy to chew for little ones.
Tips for Storing and Enjoying Your Homemade Granola Bars
Once you’ve made your batch, proper storage ensures they stay fresh and delicious:
Proper Storage Methods
- Store in an airtight container at room temperature for up to one week.
- Freeze bars for longer storage; thaw before eating for best results.
- Label containers with the date to track freshness.
Shelf Life Expectations
- Most homemade granola bars last 7–10 days when stored correctly.
- Baked bars tend to last longer than no-bake varieties.
On-the-Go Snack Ideas
- Wrap individual bars in wax paper for convenience.
- Pack them in lunchboxes, gym bags, or travel kits.
- Perfect for hiking, road trips, or busy mornings.
Pairings and Serving Suggestions
- Serve alongside Greek yogurt or milk for breakfast.
- Enjoy with a warm cup of tea or coffee for an afternoon pick-me-up.
- Crush into pieces and sprinkle over ice cream or desserts.
Understanding the Nutritional Value of Homemade Granola Bars
Knowing what you’re consuming is key to maintaining a balanced diet. Let’s delve deeper into the nutritional aspects of homemade granola bars.
Macronutrient Breakdown
- Carbohydrates: The primary source of energy, carbohydrates are abundant in oats and dried fruits.
- Proteins: Nuts, seeds, and peanut butter contribute significantly to the protein content.
- Fats: Healthy fats from nuts, seeds, and oils help keep you satiated longer.
| Nutrient | Per Bar (Approx.) |
|---|---|
| Calories | 150-200 |
| Carbohydrates | 20-25g |
| Protein | 4-6g |
| Fat | 8-10g |
Micronutrients and Their Role
- Fiber: Essential for digestion, fiber is plentiful in oats and nuts.
- Vitamins and Minerals: Incorporating various seeds and nuts provides essential vitamins like B-complex and minerals such as magnesium and zinc.
Health Benefits Beyond Nutrition
- Heart Health: The soluble fiber in oats helps lower cholesterol levels.
- Weight Management: High fiber and protein content can aid in appetite control.
- Energy Boost: Natural sugars from honey or maple syrup provide an instant energy kick.

Advanced Techniques and Tips
Enhancing Your Granola Bar-Making Skills
Once you’ve mastered the basics, it’s time to level up your skills with some advanced techniques.
Experimenting with Textures
- Crunchy vs Chewy: Adjust the baking time and temperature to achieve your desired texture. A lower temperature for a longer period results in chewier bars, while higher heat creates crunchier ones.
- Adding Crunch: Incorporate ingredients like pretzels or rice cereal for extra crunch.
Binding Alternatives
- No-Bake Options: Use chia seeds or flaxseed meal mixed with water as binders for no-bake recipes.
- Gluten-Free Binders: Xanthan gum or guar gum can be used to enhance binding properties in gluten-free recipes.
Flavor Infusions
- Spices and Extracts: Incorporate unique flavors by adding spices like cardamom or extracts like almond or coconut.
- Fresh Ingredients: Adding fresh fruit purees or zests can bring a refreshing twist to traditional recipes.
Community and Inspiration
Joining the Homemade Granola Bar Movement
Connecting with others who share your passion for healthy eating can inspire new ideas and techniques.
Online Communities and Blogs
- Social Media Groups: Platforms like Instagram and Pinterest are teeming with user-generated content showcasing innovative granola bar recipes.
- Blogging Communities: Engage with food bloggers who specialize in healthy snacks and learn from their experiences.
Local Workshops and Classes
- Cooking Classes: Many local cooking schools offer workshops focused on healthy snacking and baking.
- Farmers Markets: Often, vendors at farmers markets have insights into seasonal ingredients that can elevate your recipes.
Troubleshooting Common Issues
Overcoming Challenges in Making Homemade Granola Bars
Even seasoned bakers encounter issues occasionally. Here’s how to tackle common problems:
Bars Falling Apart
- Solution: Ensure your binder-to-dry-ingredient ratio is correct. Add more liquid if necessary.
- Tip: Press the mixture firmly into the pan to ensure cohesion.
Too Dry or Crumbly
- Solution: Increase the amount of oil or butter used in the recipe.
- Tip: Allow the bars to cool completely before cutting to maintain structure.
Too Sweet
- Solution: Reduce the quantity of sweeteners or substitute with less sugary alternatives.
- Tip: Balance sweetness with tangy ingredients like lemon zest or unsweetened yogurt.

FAQ Section
Q1: Are homemade granola bars healthier than store-bought ones?
Yes, homemade granola bars allow you to choose high-quality, nutrient-dense ingredients without added preservatives or excessive sugar.
Q2: Can I make gluten-free homemade granola bars?
Absolutely! Simply use certified gluten-free oats and avoid cross-contaminated ingredients.
Q3: How long do homemade granola bars last?
Stored properly, they typically last 7–10 days at room temperature or several months in the freezer.
Q4: Do I need special equipment to make homemade granola bars?
Nope! Basic kitchen tools like bowls, spoons, and a baking tray will suffice.
Conclusion
Making homemade granola bars is not only simple but incredibly rewarding. From selecting healthier ingredients to crafting personalized flavors, the possibilities are endless. With this ultimate guide, you now have everything you need to start experimenting in the kitchen. So go ahead, roll up your sleeves, and enjoy the process of creating delicious, nutritious snacks that cater specifically to your needs.
Call-to-Action
Ready to take the first step? Try our classic homemade granola bar recipe below and share your experience in the comments section. We’d love to hear about your favorite flavor combinations and creative twists! Happy snacking!
